You buy a string of lovely 8 mm beads, pick up a spool of 0.8 mm elastic, and discover that one bead has a hole barely wide enough to take the cord. The bead diameter was clear on the packet; the hole diameter was not. This is where many beginner bracelet projects go wrong. Choosing elastic is less about memorising a chart of bead sizes and more about checking three things: what will pass through the smallest hole, how much weight the bracelet must carry, and whether you can finish the knot without damage.
1. Bead diameter and hole diameter are different measurements
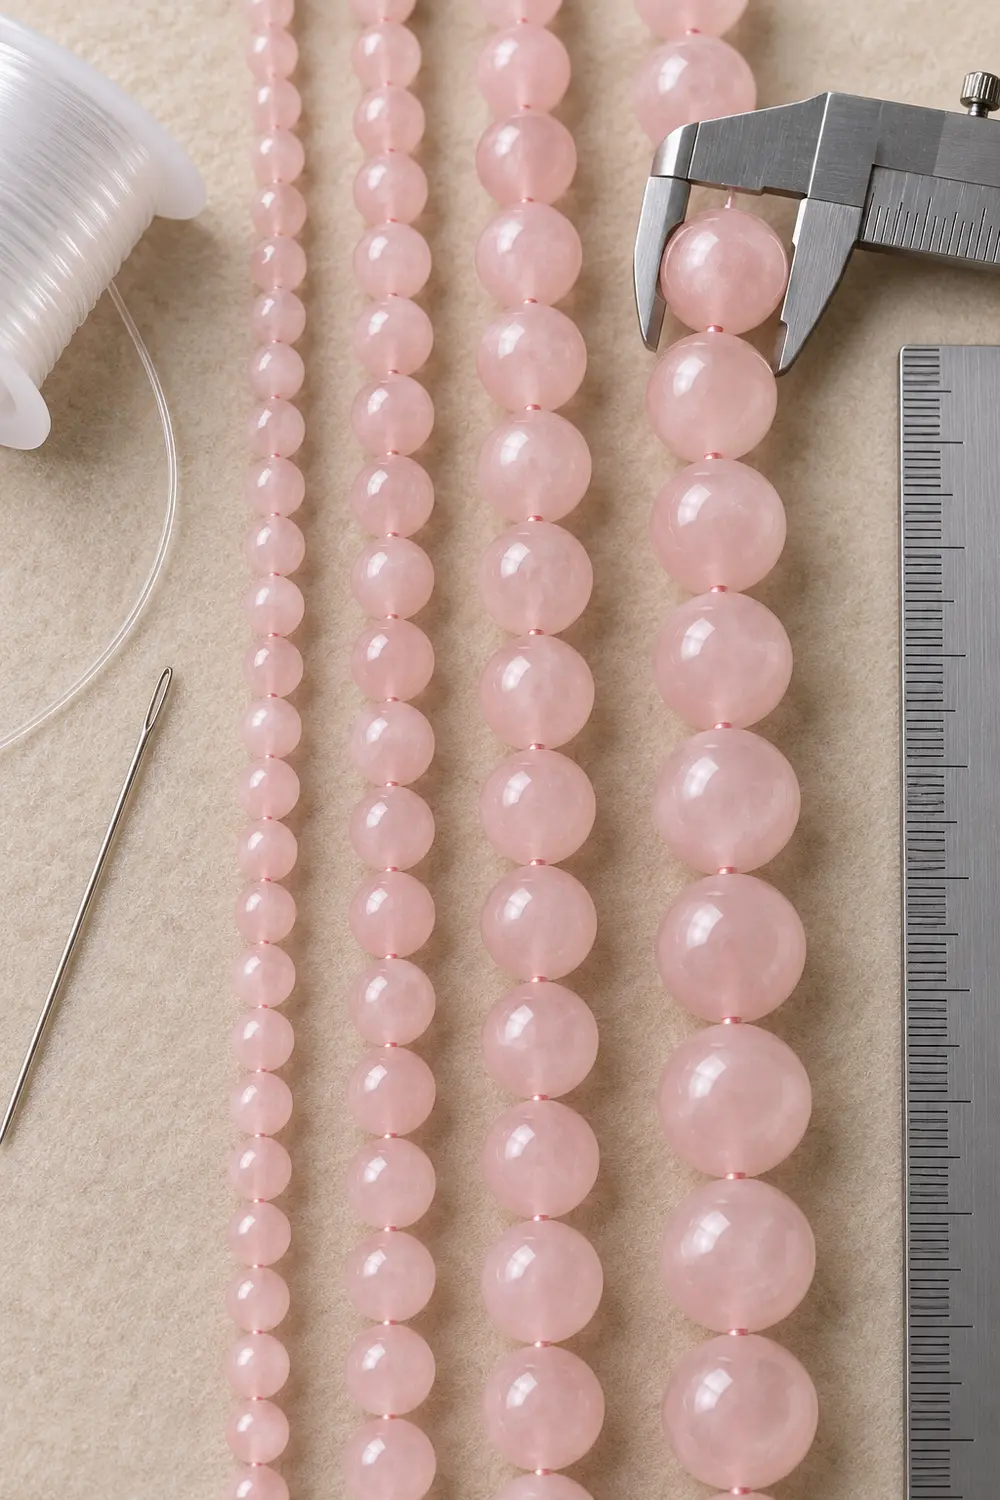
A bead labelled 8 mm is usually being described by its outside size. That tells you how much space it takes on the bracelet, not whether the opening will accept your elastic. Two 8 mm beads can have very different holes. Natural-stone beads from the same strand may even vary from one end to the other.
Lay out the actual beads and identify the smallest opening before choosing cord. If the packet lists a hole diameter, treat it as a useful starting figure rather than a guarantee that every bead matches it. A smooth test with a short offcut is better than forcing cord through forty beads.
Fire Mountain Gems' advice on stretch-cord sizing makes this distinction explicit: the hole diameter, not simply the bead size, is the deciding constraint.
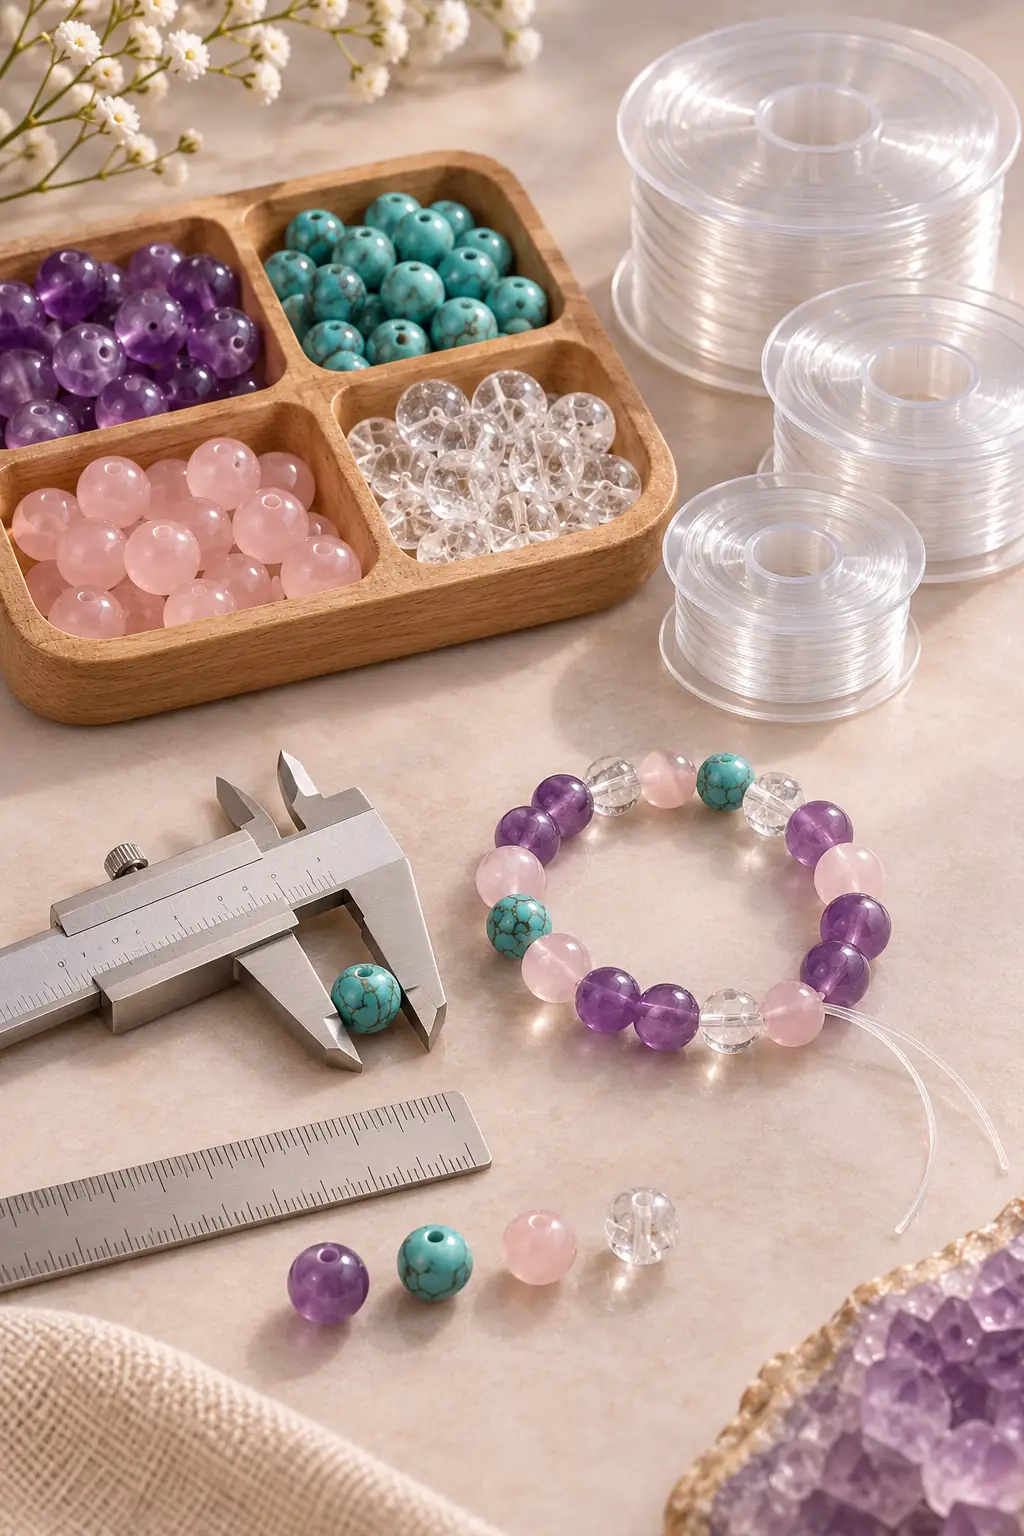
Illustrated bead and cord selection on a worktable. Test the actual bead holes before choosing elastic thickness.
2. What do 0.5 mm, 0.8 mm and 1 mm actually mean?
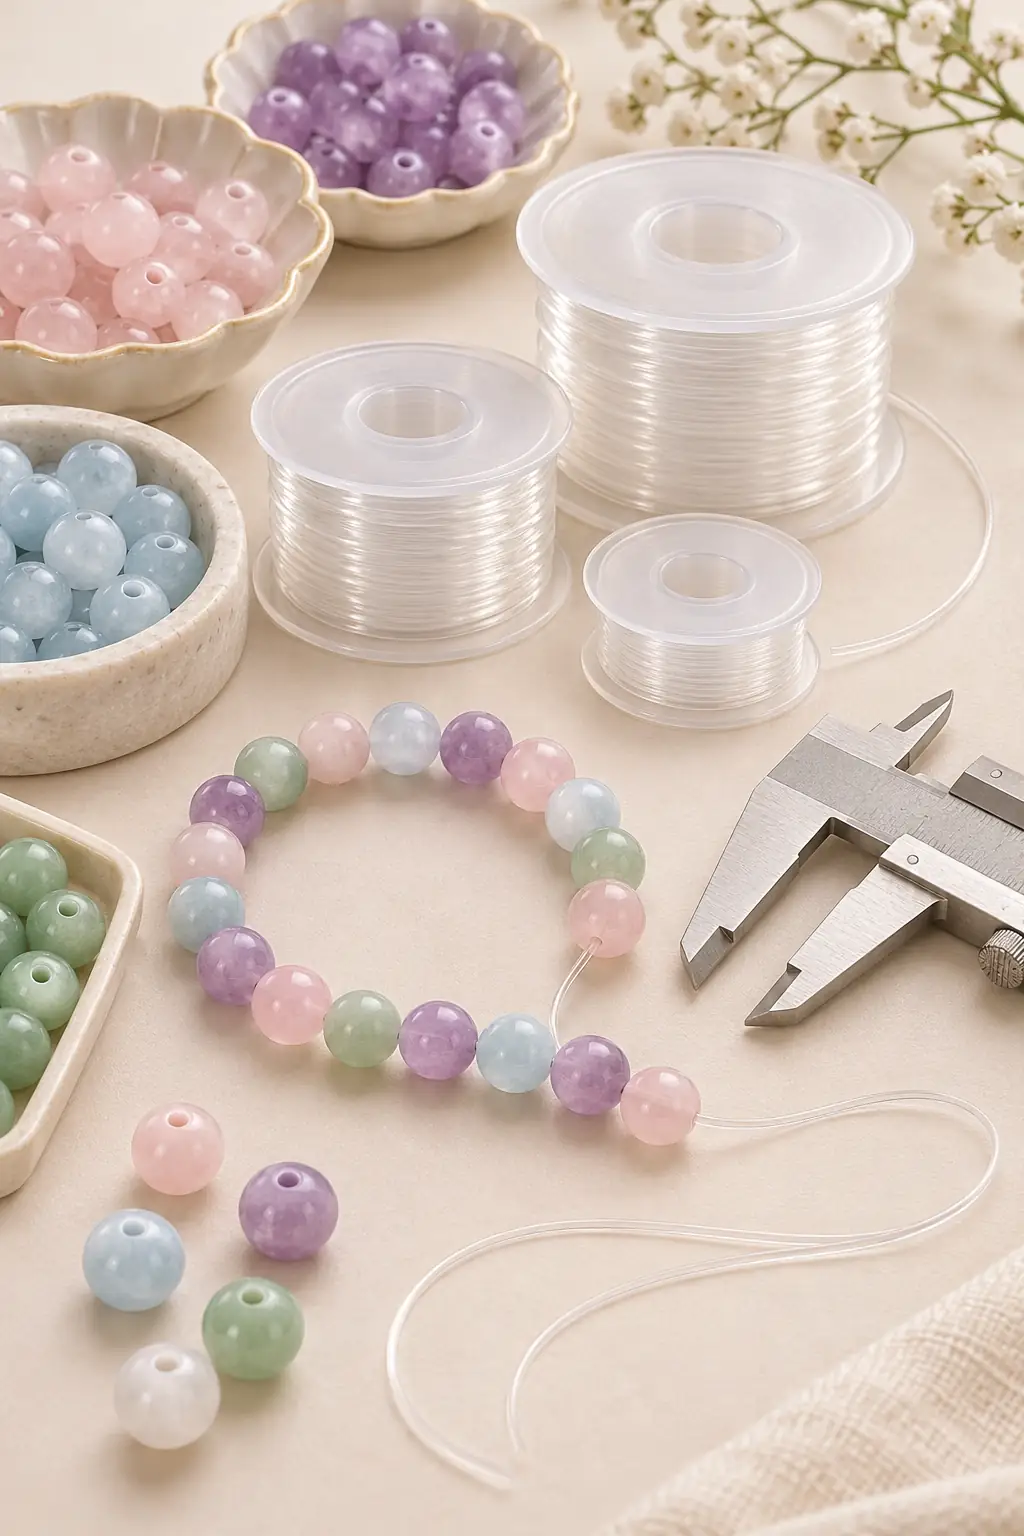
These numbers describe the cord's nominal thickness. Beadalon and other suppliers sell common jewellery elastics around 0.5, 0.8 and 1.0 mm, although ranges and materials differ by product. There is no universal formula that says a 4 mm bead must use one size and an 8 mm bead another.
A slimmer cord can thread small holes more easily but may offer less resistance to wear, depending on the material and how the bracelet is used. A thicker cord can be reassuring in a larger-hole bead, but only if it passes smoothly and leaves enough flexibility for the bracelet to curve around the wrist.
Start with the largest thickness that passes through the smallest bead without scraping, stretching or catching. If your design includes doubled cord, test the doubled thickness as well; two strands need more room than one.
3. Try a five-bead test before you cut the full length
Choose five beads from different places on the strand, including the one with the smallest hole. Cut a short length of the proposed cord and thread all five. They should slide without requiring pliers or a hard tug. Then curve the test section around your finger or a rounded form to check that it bends freely.
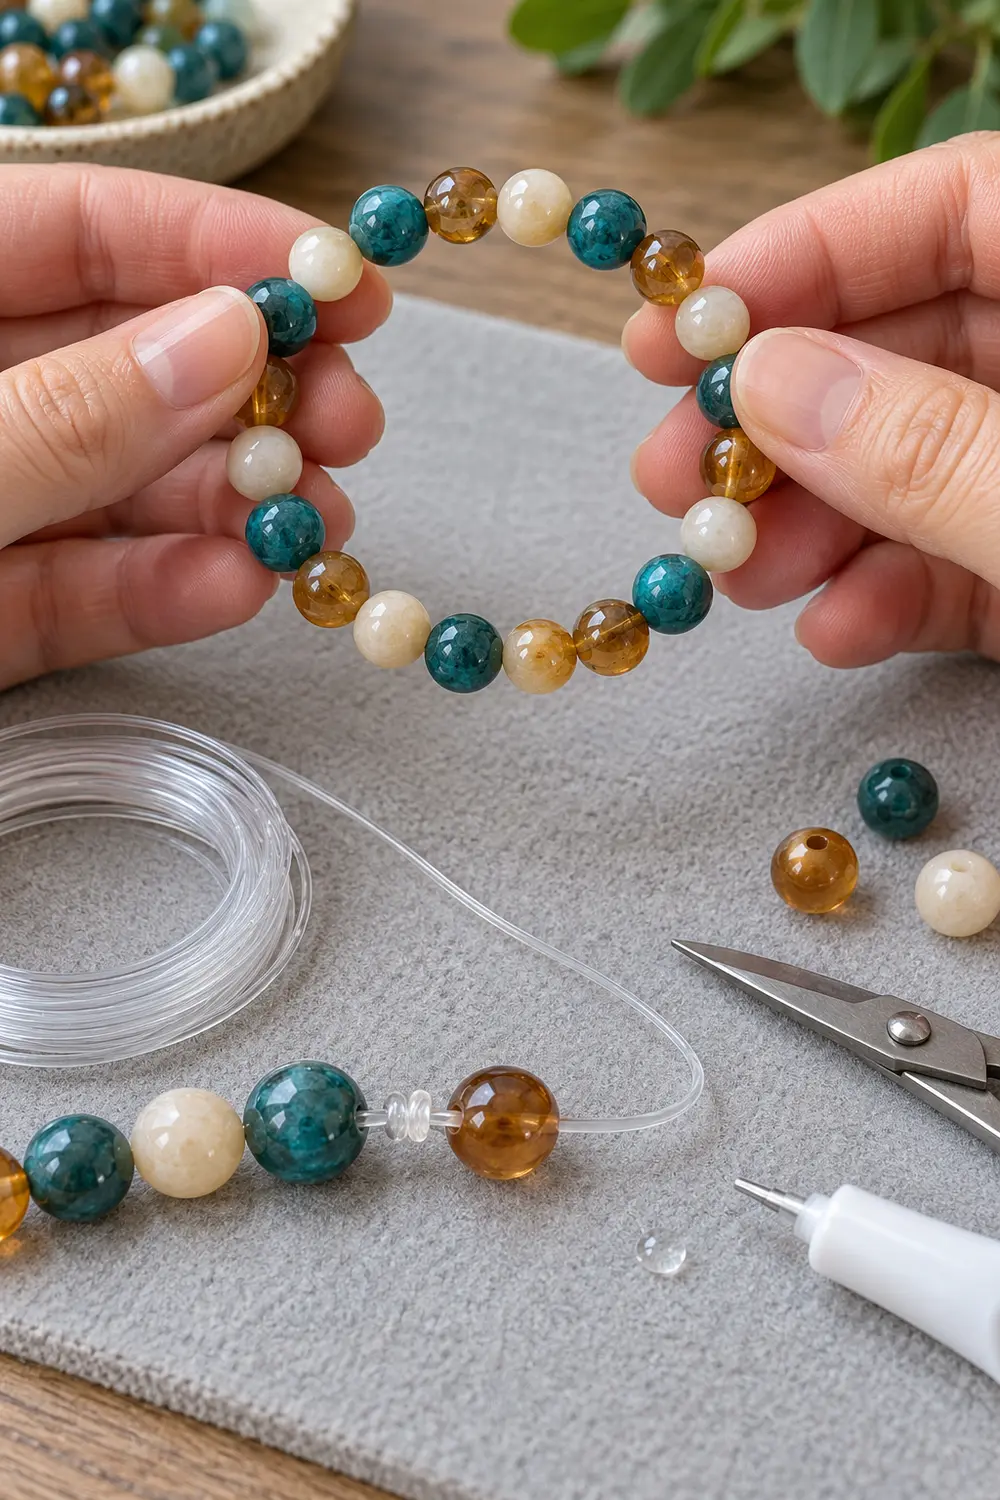
Next, make a sample knot with the same cord. A knot that fits inside the planned finishing bead is much neater and better protected than one left to rub against a sharp edge. If it will not fit, change your finishing plan rather than forcing it into place.
This trial costs a few minutes but catches the frustrating failures while they are still easy to solve: mixed hole sizes, a cord that is too thick for one bead, and a knot with nowhere to go.
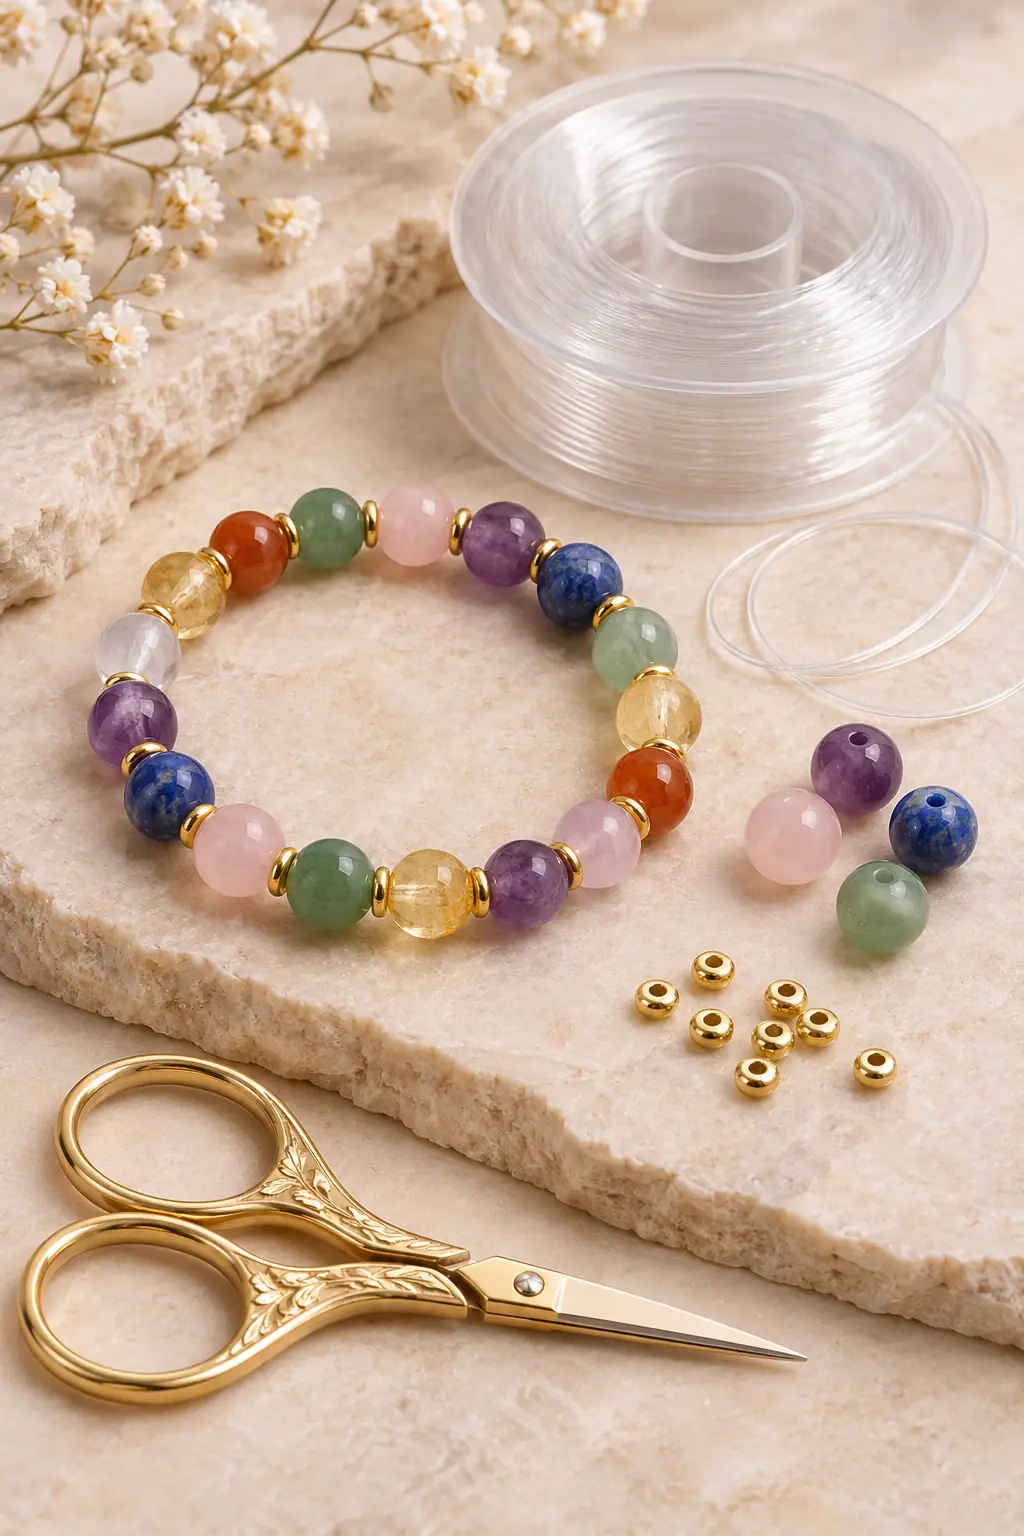
New product-only bracelet-making still life showing the materials used to assemble and finish an elastic bracelet; knot fit must be checked on the real pieces.
4. Heavy gemstone beads need another question: should this be elastic at all?
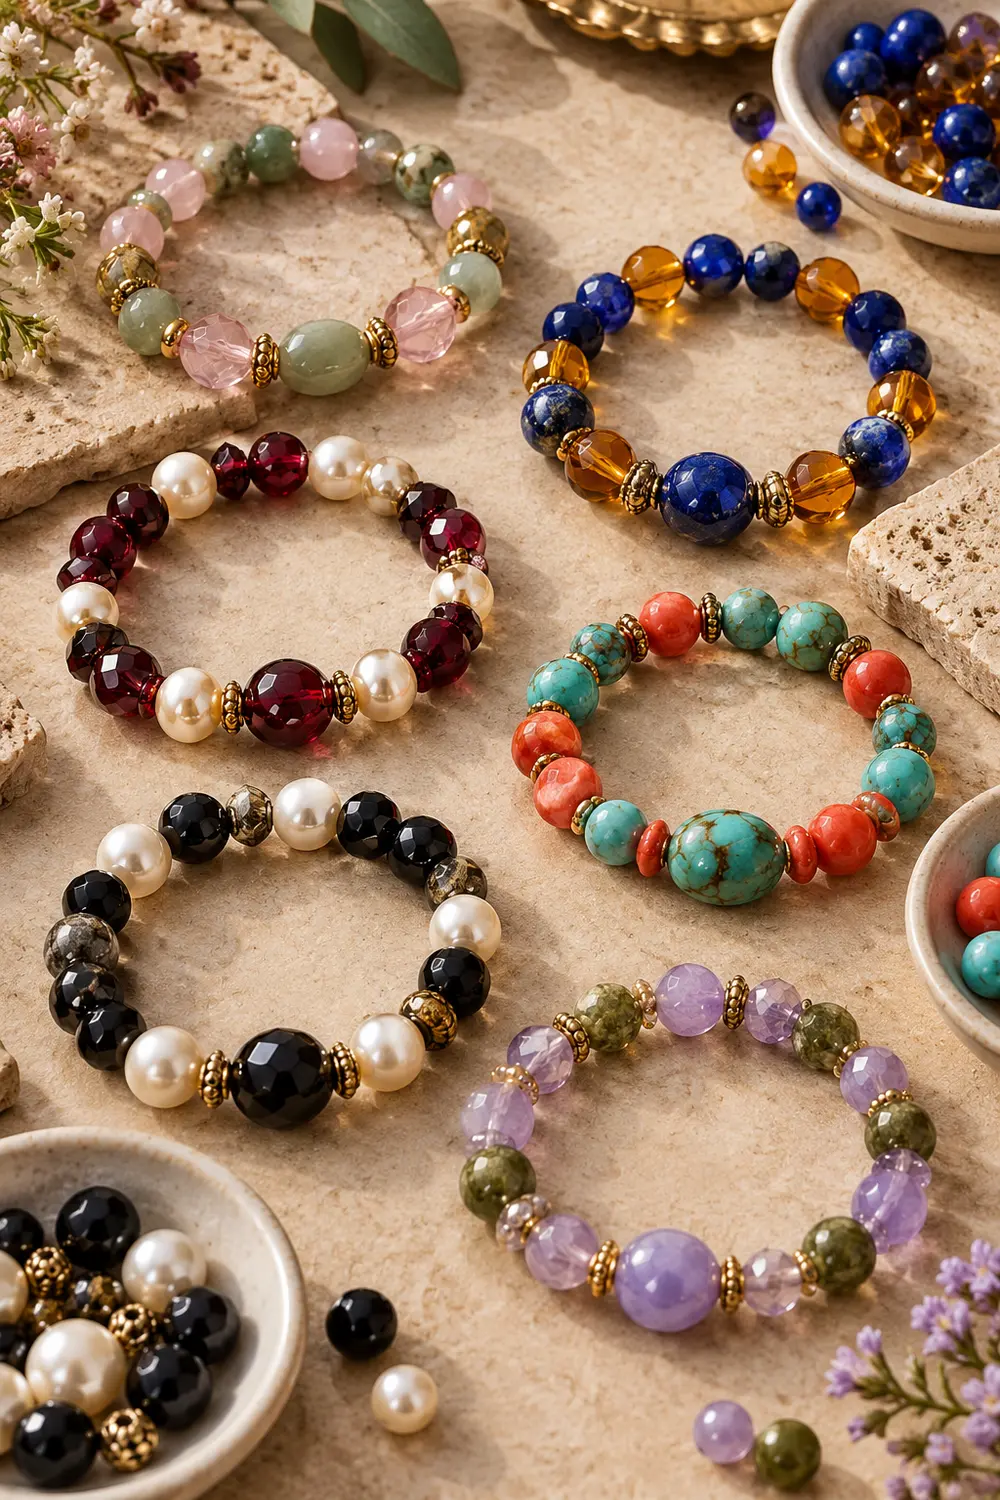
A bracelet of dense stone or glass beads loads the cord differently from one made of light wooden or acrylic beads. More weight, sharp hole edges and frequent stretching can increase wear. Fire Mountain Gems recommends choosing the largest elastic that will pass through the holes for heavier gemstone work.
But thickness alone is not a cure for every material problem. If a heavy strand repeatedly abrades the elastic, consider redesigning it with suitable flexible beading wire and a clasp instead. Wire is a different project: it needs compatible crimps, findings and finishing instructions.
A bracelet should bend comfortably. If larger beads crowd the inside of the circle, revisit the length as well as the cord. Adding more tension to the elastic is not a proper fix for beads that are simply too large for the planned circumference.
5. Do not treat all stringing materials as interchangeable
Elastic cord stretches and usually joins in a knot. Flexible beading wire is metal wire with a protective coating; it does not behave like elastic and is commonly finished with crimps and a clasp. Beading thread is another family of materials, useful for sewn beadwork or designs that call for repeated passes through small holes.
The finishing method matters as much as the material. Do not squeeze a standard metal crimp onto elastic simply because it works with coated wire. Crimp pressure and sharp edges can damage elastic. The Fire Mountain Gems stringing-material guide specifically warns against ordinary crimping on stretch cord.
If you are making a simple pull-on bracelet, start with elastic. If you want a clasp, heavy components or multiple secure passes through beads, read the instructions for the specific wire or thread before buying supplies.
6. Pre-stretch gently; don't build the bracelet under strain
Many makers pre-stretch elastic a few times before stringing. Beadalon's bracelet guidance recommends doing this to reduce unwanted slack later. Stretch the cut piece gently along its length rather than yanking it to its limit.
When you assemble the bracelet, the beads should meet without visible lengths of cord between them. They should not be crammed together so tightly that the finished circle puckers or refuses to lie smoothly. The goal is a comfortable fit, not maximum tension.
Measure the actual wrist, choose a reasonable allowance, and check the unfinished circle around a wrist or bead board. The ShiningBeads bead-count calculator can estimate quantities, but it cannot predict unusual bead holes, weight or the behaviour of your chosen elastic.
7. Knots, glue and the one bead that must hide the join
Plan your join before the first bead goes on. Keep a bead or spacer with a sufficiently large, smooth hole near the finishing position so the knot can be tucked away. If every bead has a tight hole, consider a different finishing design.
A surgeon's knot is commonly recommended for stretch bracelets, but follow the directions for the actual elastic brand. Tighten evenly and make sure the knot is fully seated. Adhesive is not a substitute for a sound knot, and not every glue is compatible with every elastic.
If the cord manufacturer recommends an adhesive, use only the specified type and allow the full curing period. Do not trim the tails flush while the knot is still moving or tacky. Your finished bracelet should feel smooth and flexible around the join.
8. Four early warnings that the cord choice is wrong
If the cord whitens, frays or visibly flattens as you thread it, stop. The hole may be rough, the cord may be too thick, or you may be pulling at an awkward angle. Grinding through the rest of the strand will only make failure more likely.
If the beads gap widely after the bracelet is tied, look for slack, an insecure knot or material that has relaxed. If the bracelet puckers into stiff corners, there may be excessive tension or too many large beads for the intended length.
Finally, watch the knot. If it keeps emerging from a bead, choose a better hiding place or reconsider the finishing method. It is easier to restring a bracelet at the worktable than to hunt for scattered beads on the floor.
9. A buying checklist that avoids the usual wasted spool
Before ordering, note the outside bead size, the smallest known hole size, approximate weight and whether you want a knot or a clasp. Then check the manufacturer's recommended use, available diameters, knotting instructions and any adhesive guidance.
Purchase only enough cord to test the design first. If the chosen size works with the bead holes and finishing bead, then make the full bracelet. If it does not, change one variable at a time instead of buying several spools and hoping a thicker number is always better.
The pleasing part of a handmade bracelet is not a perfect figure on the label. It is a circle that sits comfortably, flexes naturally and stays together through ordinary wear.
Estimate your round-bead quantity with the bracelet calculator.