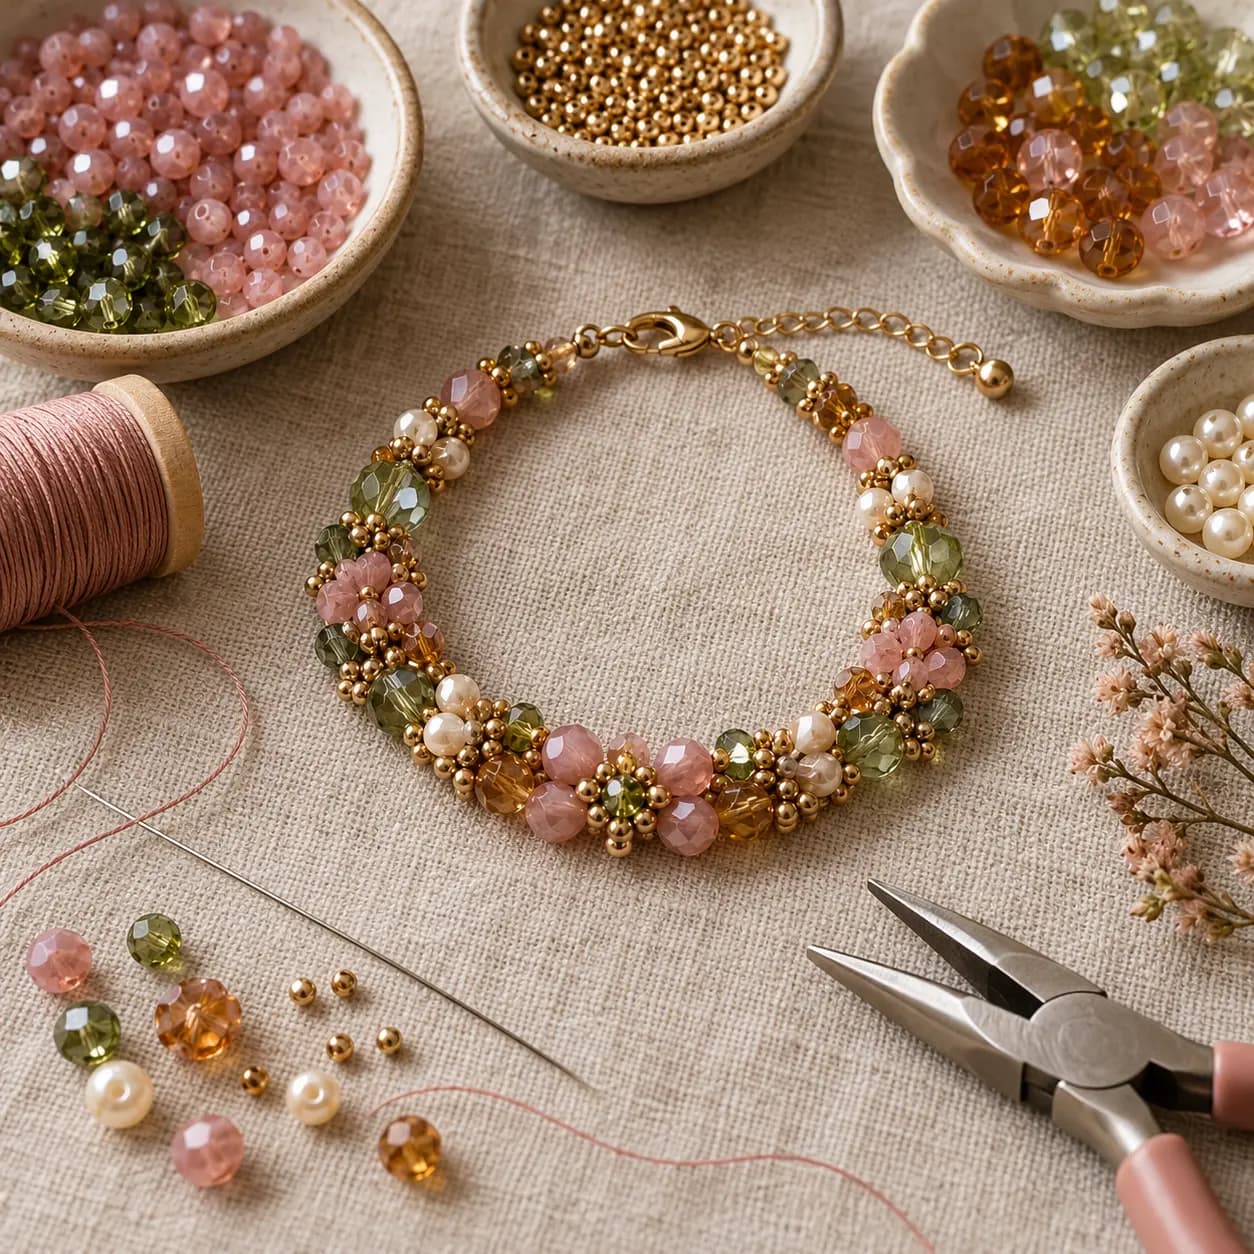
Stretch bracelets are simple, which means the small decisions show. Good cord, an even pattern and a knot hidden inside a bead make the difference between a bracelet that feels homemade and one that simply feels well made.
Choose the cord after the beads
Use the thickest jewellery elastic that passes comfortably through every bead in the design. The smallest hole sets the limit. It often belongs to a pearl, tiny spacer or focal bead, not one of the main rounds.
Cord that barely squeezes through once may not leave room to hide the knot. Test a short offcut through the proposed knot-covering bead before stringing the bracelet.
- Jewellery elastic
- Main beads
- A few spacers
- One optional focal bead
- Scissors and a clip
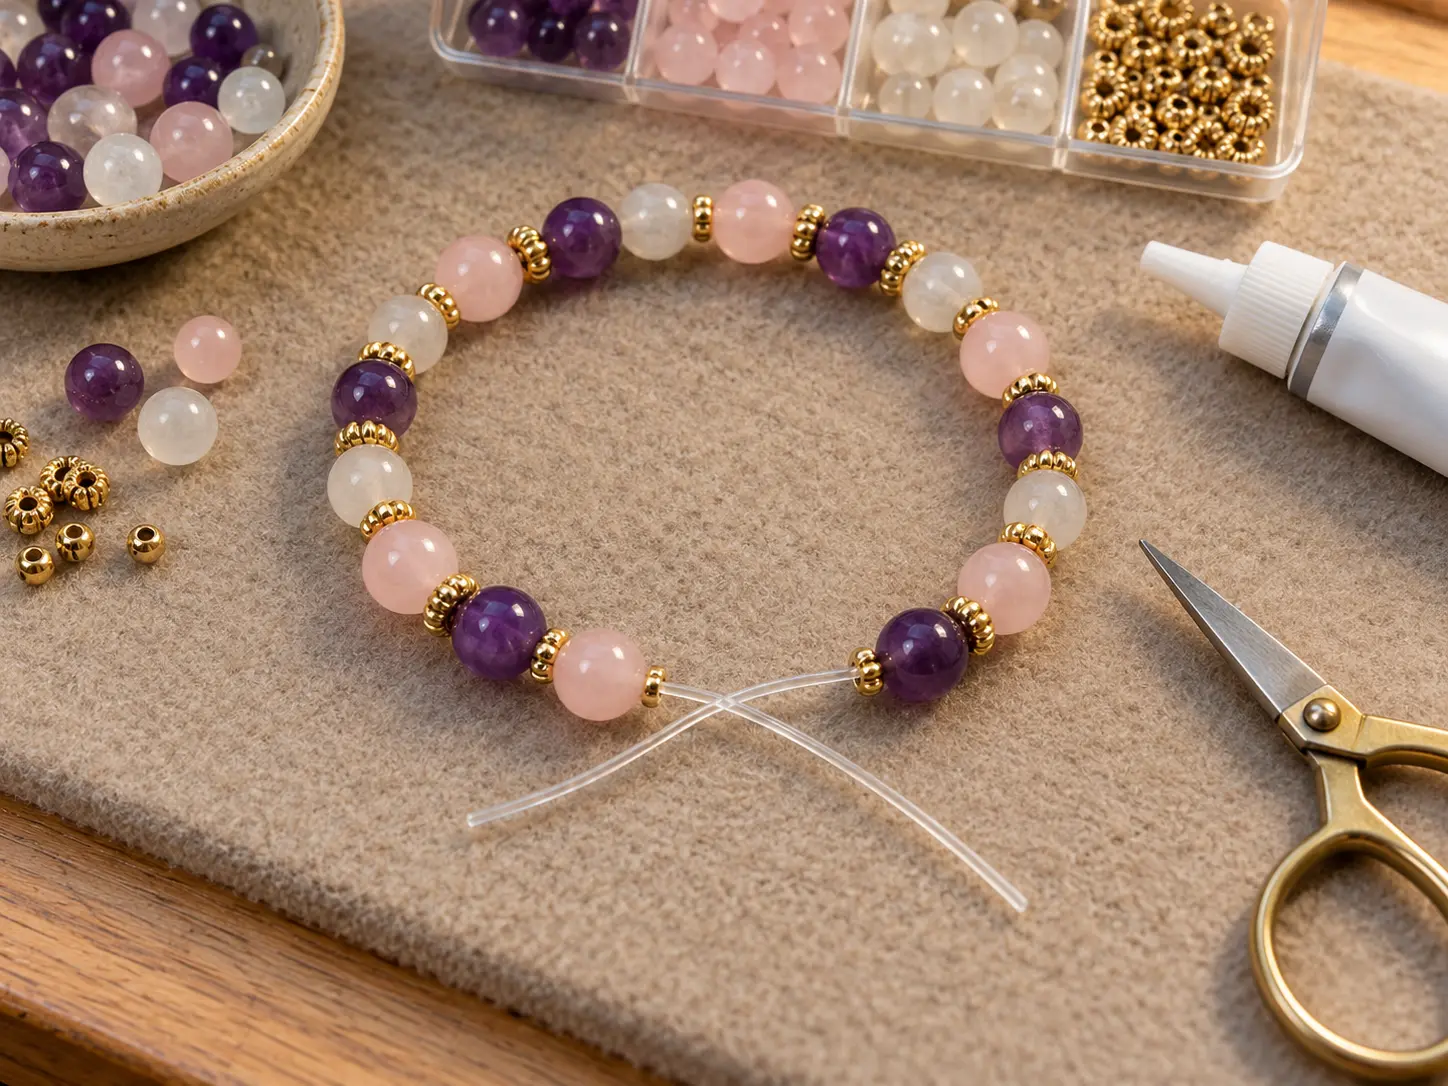
Measure for the beads you are using
Wrap a soft tape around the wrist where the bracelet will sit. For small beads, add roughly 5–10 mm depending on whether you prefer a close or relaxed fit. Large beads need more room because they reduce the opening inside the bracelet.
Do not rely only on a flat ruler measurement. Curve the unfinished strand around your wrist and check that it bends naturally without gaps or pressure marks.
Pre-stretch before the pattern begins
Cut more elastic than the finished bracelet requires so there is enough cord to hold while knotting. Stretch it gently along its length a few times before adding beads. This reduces the chance of the bracelet relaxing into visible gaps after the first few wears.
Secure one end with a bead stopper or clip. Leave a generous tail at both ends; short tails turn an easy knot into an irritating one.
Lay out one repeat
Arrange a short repeat on the table first: perhaps three main beads, one spacer, then three more main beads. Copy that sequence until the bracelet reaches the length you need. It is much easier to fix the balance before the beads are on the cord.
If there is a focal bead, decide whether it should sit exactly opposite the knot. That placement keeps the knot at the underside of the wrist when the focal is facing up.
Check the whole circle before tying
Bring the ends together without crossing them and look for a sudden colour change, two spacers touching or a focal bead sitting off-centre. Move the beads now, while the knot is still open.
Try the loose circle around the wrist while holding both tails firmly. The beads should meet without the elastic showing, but they should not be pulled so tightly that the bracelet loses flexibility.
Take your time with the knot
Tie a surgeon’s knot and tighten it gradually from several directions: both loose tails, then each tail against the beaded side. The knot should close firmly without cutting into or whitening the elastic.
Use only an adhesive that is compatible with the exact cord you bought, and follow its curing instructions. A tiny controlled amount is enough. More glue does not correct a badly seated knot and can stiffen the neighbouring section.
Hide and protect the join
Once the adhesive has fully cured, trim the tails according to the cord maker’s guidance and ease the knot into a large-hole bead or spacer. Covering it improves the finish and protects it from rubbing between two hard bead edges.
Roll the bracelet over your hand instead of pulling one section wide. Keep it away from perfume, soap and prolonged heat, and restring it if the elastic becomes cloudy, flattened or visibly frayed.