Hair pins look easiest when they follow the shape that is already there. A low bun gives you a curve, a centre and two clear sides, so you do not need to scatter decorations everywhere. Secure the hairstyle with ordinary pins first. Decorative pins should finish the look, not be responsible for holding the whole bun together.
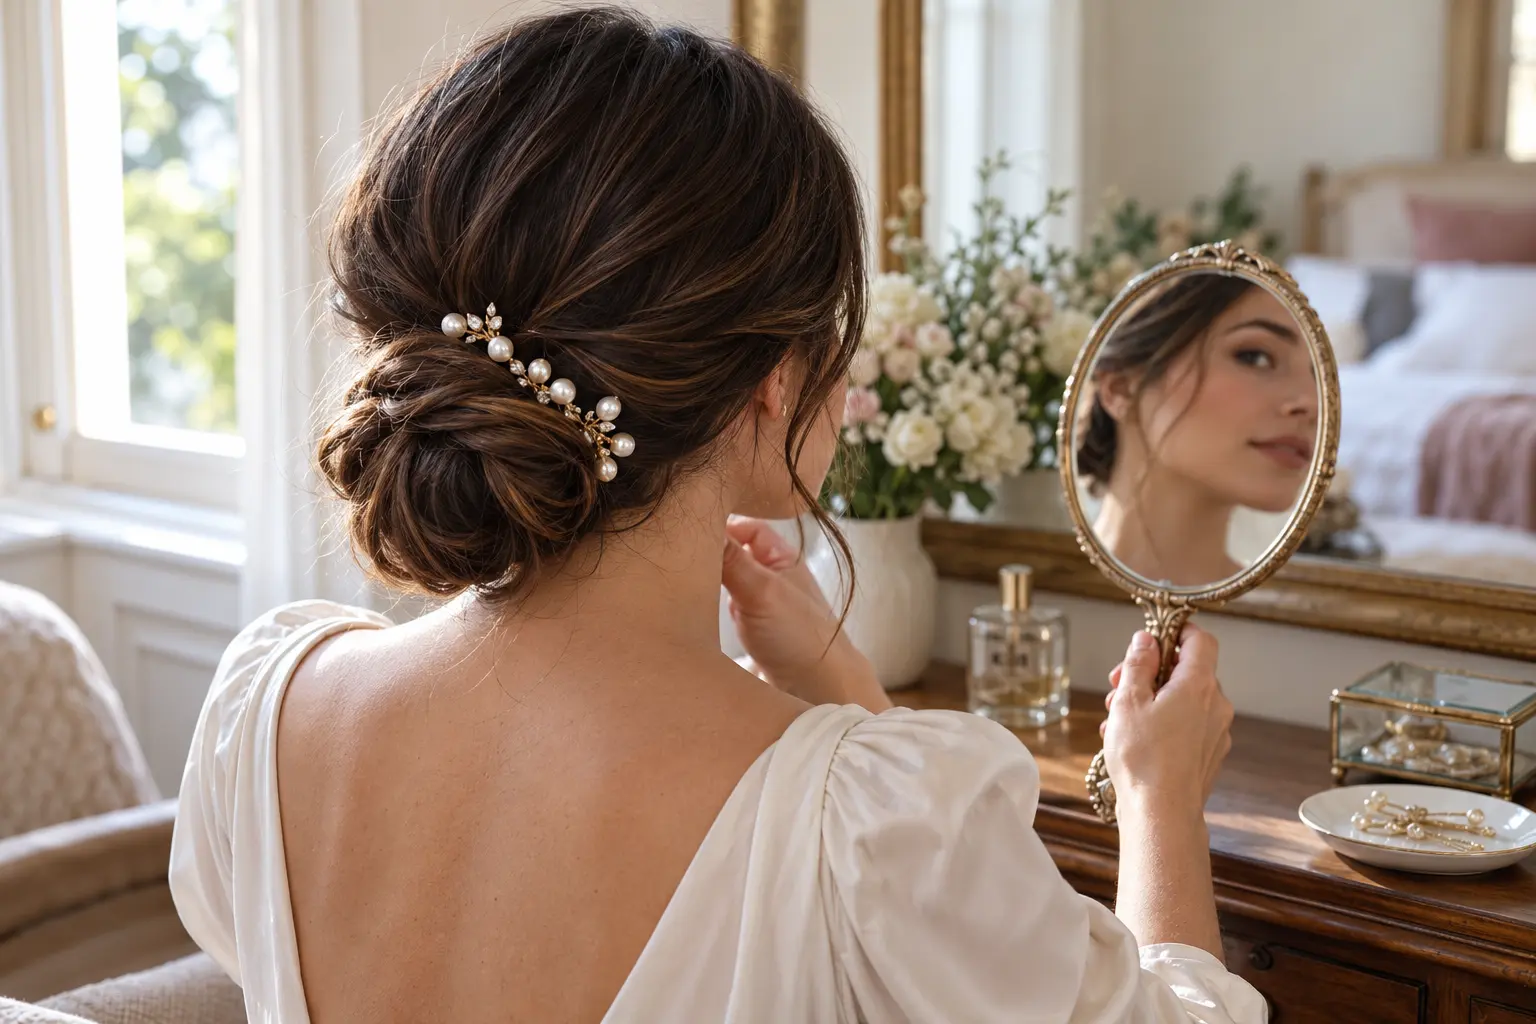
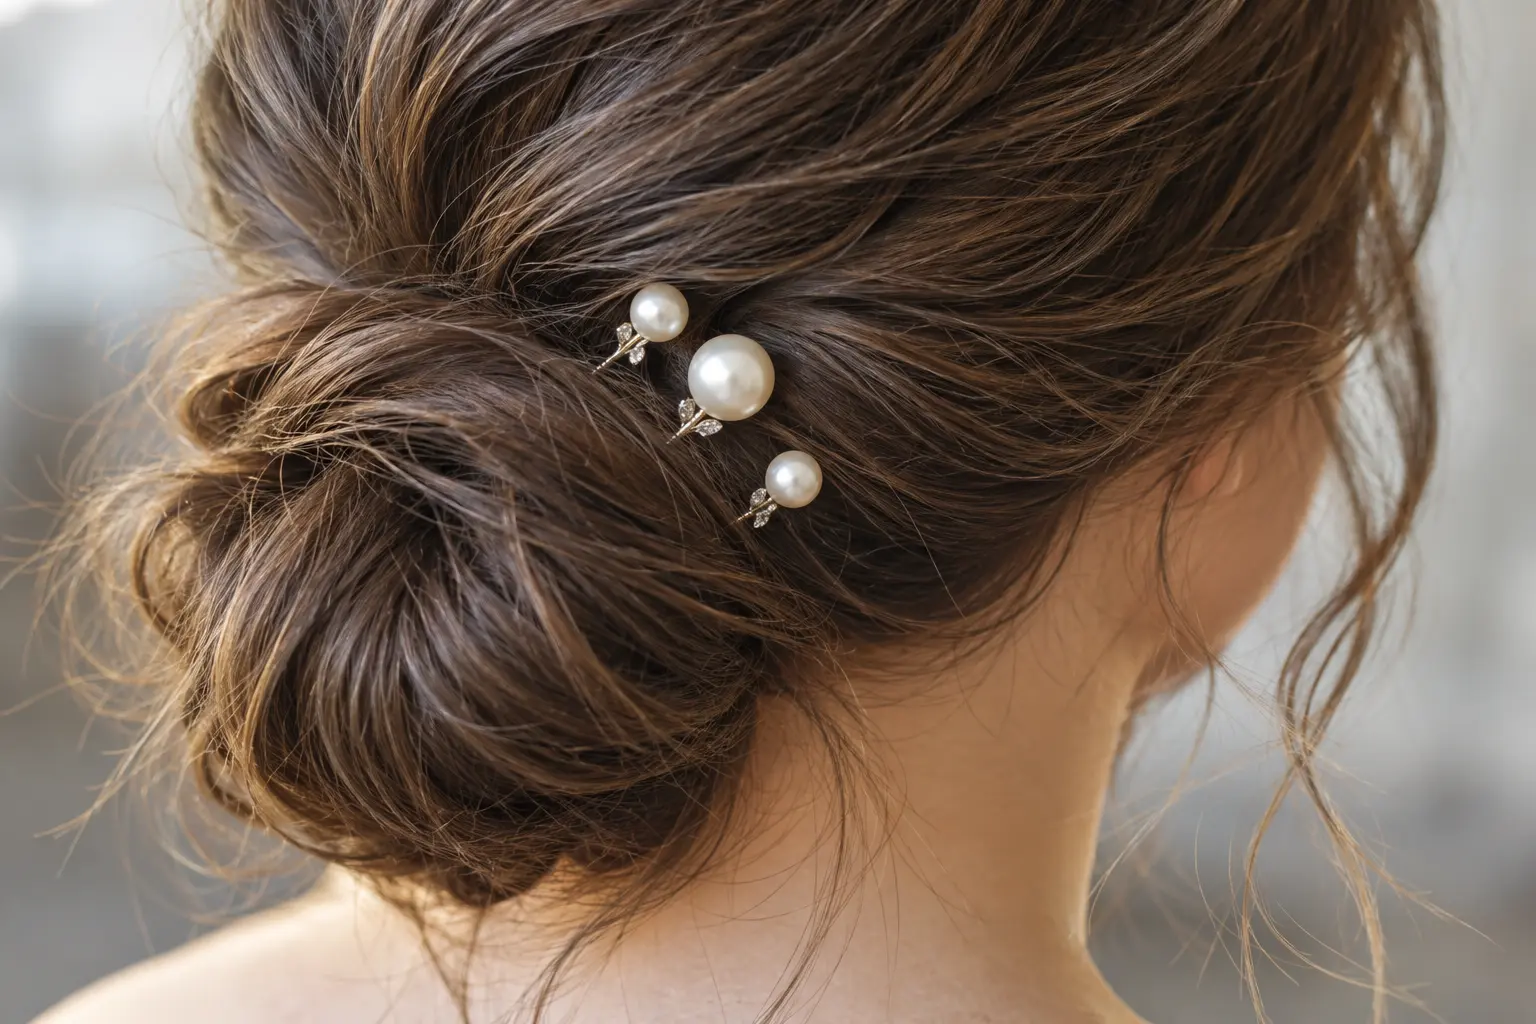
1. Three pearl pins following one side of the bun
Place the largest pearl near the centre of the bun, then add two smaller pins along the curve. Leave uneven spaces between them. A perfectly measured row can look stiff; a loose arc feels softer.
Push each pin into the dense base of the bun, then angle it inward. If it slides straight out, cross it over an ordinary pin hidden underneath.
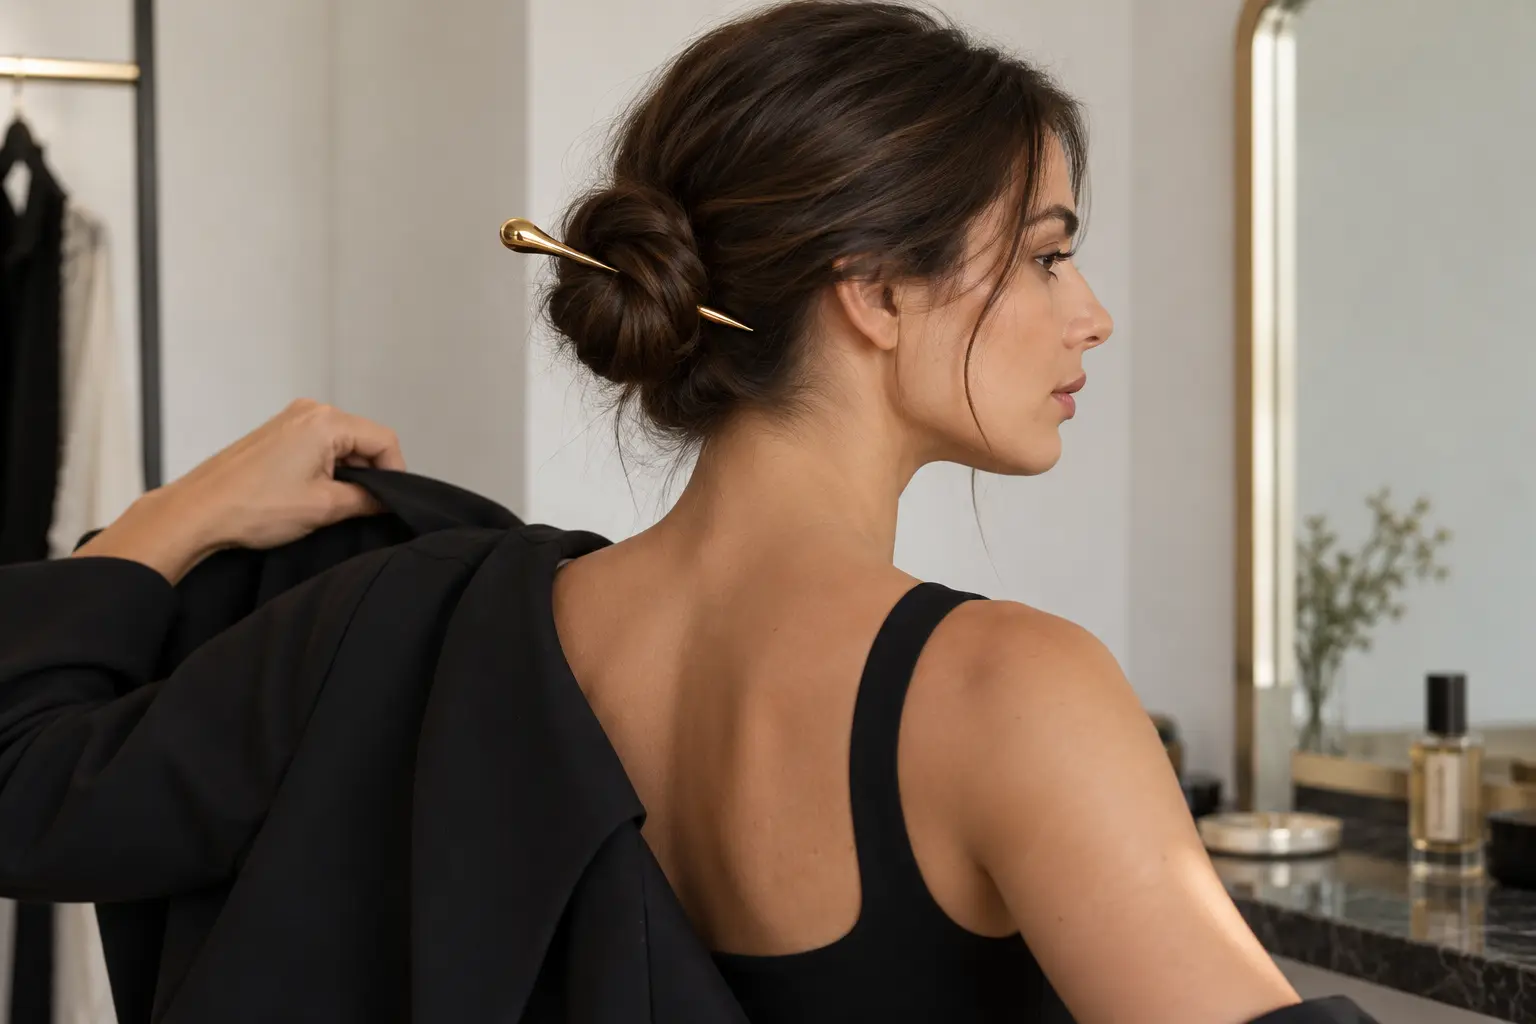
2. One sculptural hair stick through a sleek knot
A smooth low knot can take one strong line. Insert a hair stick through the outer edge, catch a small amount of hair close to the scalp and bring the stick back through the bun. The decorative end should sit just beyond the shape, not disappear inside it.
Use a proper hair stick with a smooth tip. Jewellery pins and knitting needles can catch or damage hair.
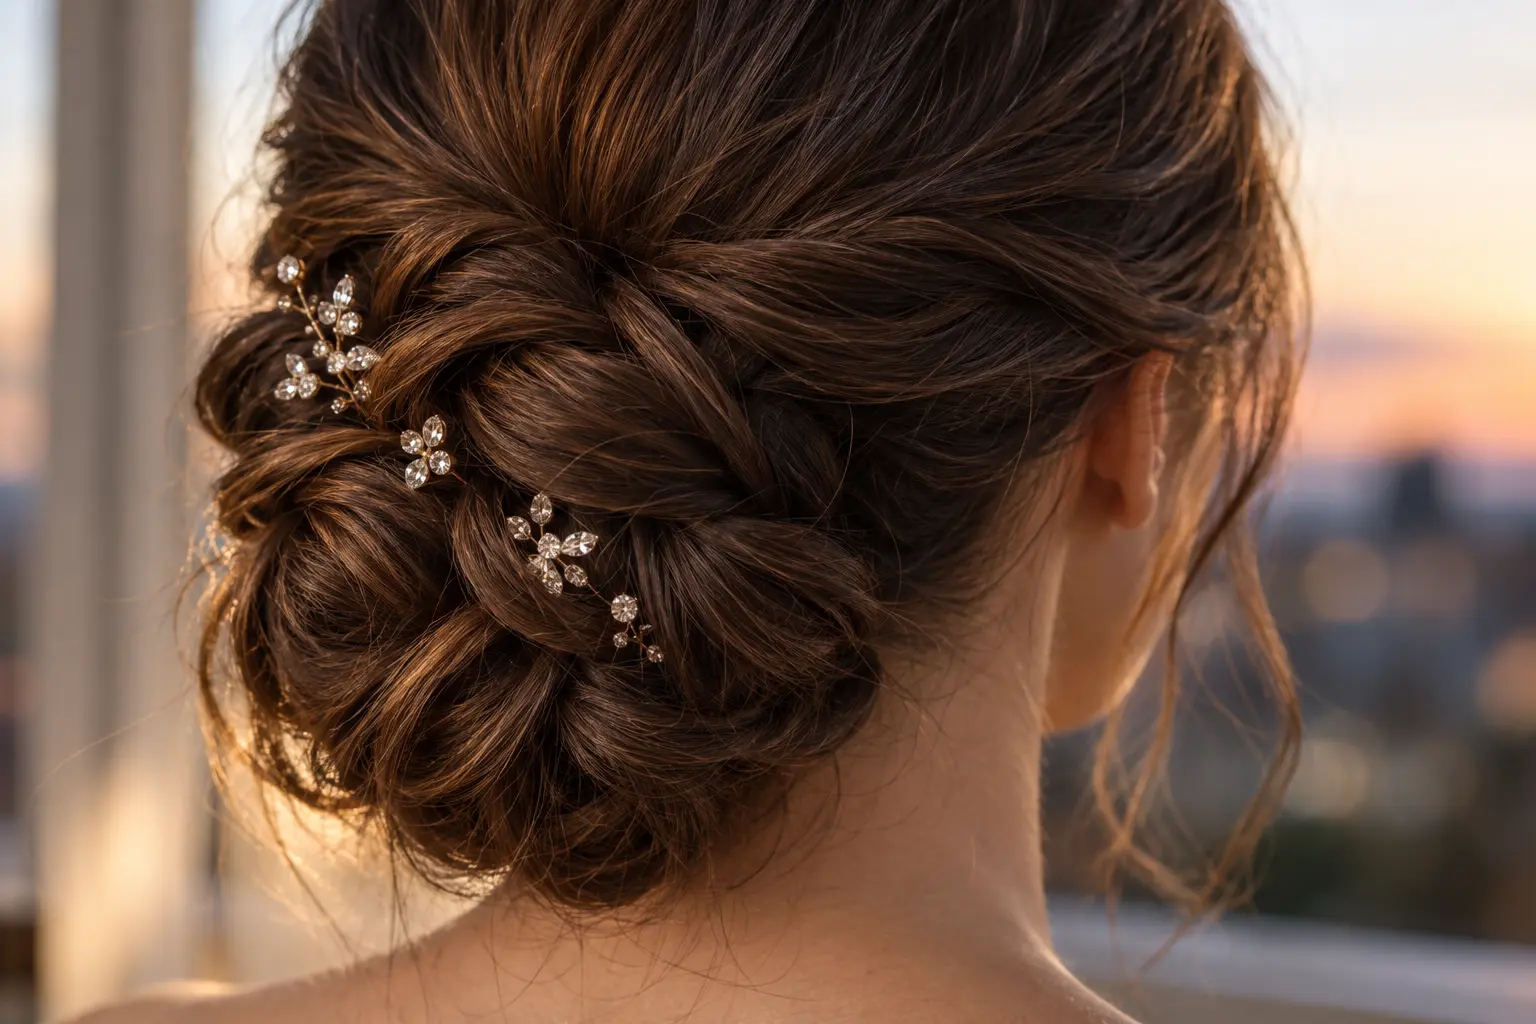
3. Tiny crystal pins scattered through a braided bun
Tuck small crystal pins into the gaps between braid sections. Concentrate them on one half of the bun and leave the other half quiet. The crystals will catch light as the braid moves without covering the texture.
Count the pins before and after taking the hairstyle down. Tiny decorative pins are easy to miss in thick hair.
4. A small floral comb above the bun
Slide a light floral comb into the hair just above the bun, following its top curve. This placement is visible from the side and back, which makes it useful for weddings and photographs.
The comb should not carry the bun. Secure the hairstyle first, then add the decoration into a stable section of hair.
5. Two pins placed asymmetrically
Use one larger pin low on one side and a smaller related pin higher on the other. Matching metal or pearl colour keeps the pair connected even when the shapes differ.
This arrangement suits a simple bun and an outfit that already has asymmetry, such as a one-shoulder dress.
6. A line of pins along a French twist into a low bun
If the hair twists down into the bun, place three narrow pins along the seam of the twist. The line guides the eye towards the bun and makes the structure easier to see.
Keep the decorative heads small. Large flowers along the entire twist can hide the hairstyle completely.
7. One side pin for short hair gathered at the nape
Short hair may not form a full bun, but a tucked roll at the nape can still take one light side pin. Place it where the shorter layers meet the roll, using an ordinary grip underneath if extra hold is needed.
Choose a pin with a short stem so it does not extend beyond the gathered hair and press against the neck.